
My First Hot Chocolate Bomb Adventure: A Beautiful Mess.
This post contains affiliate links. If you click and choose to buy, I earn a small commission at no additional cost to you.
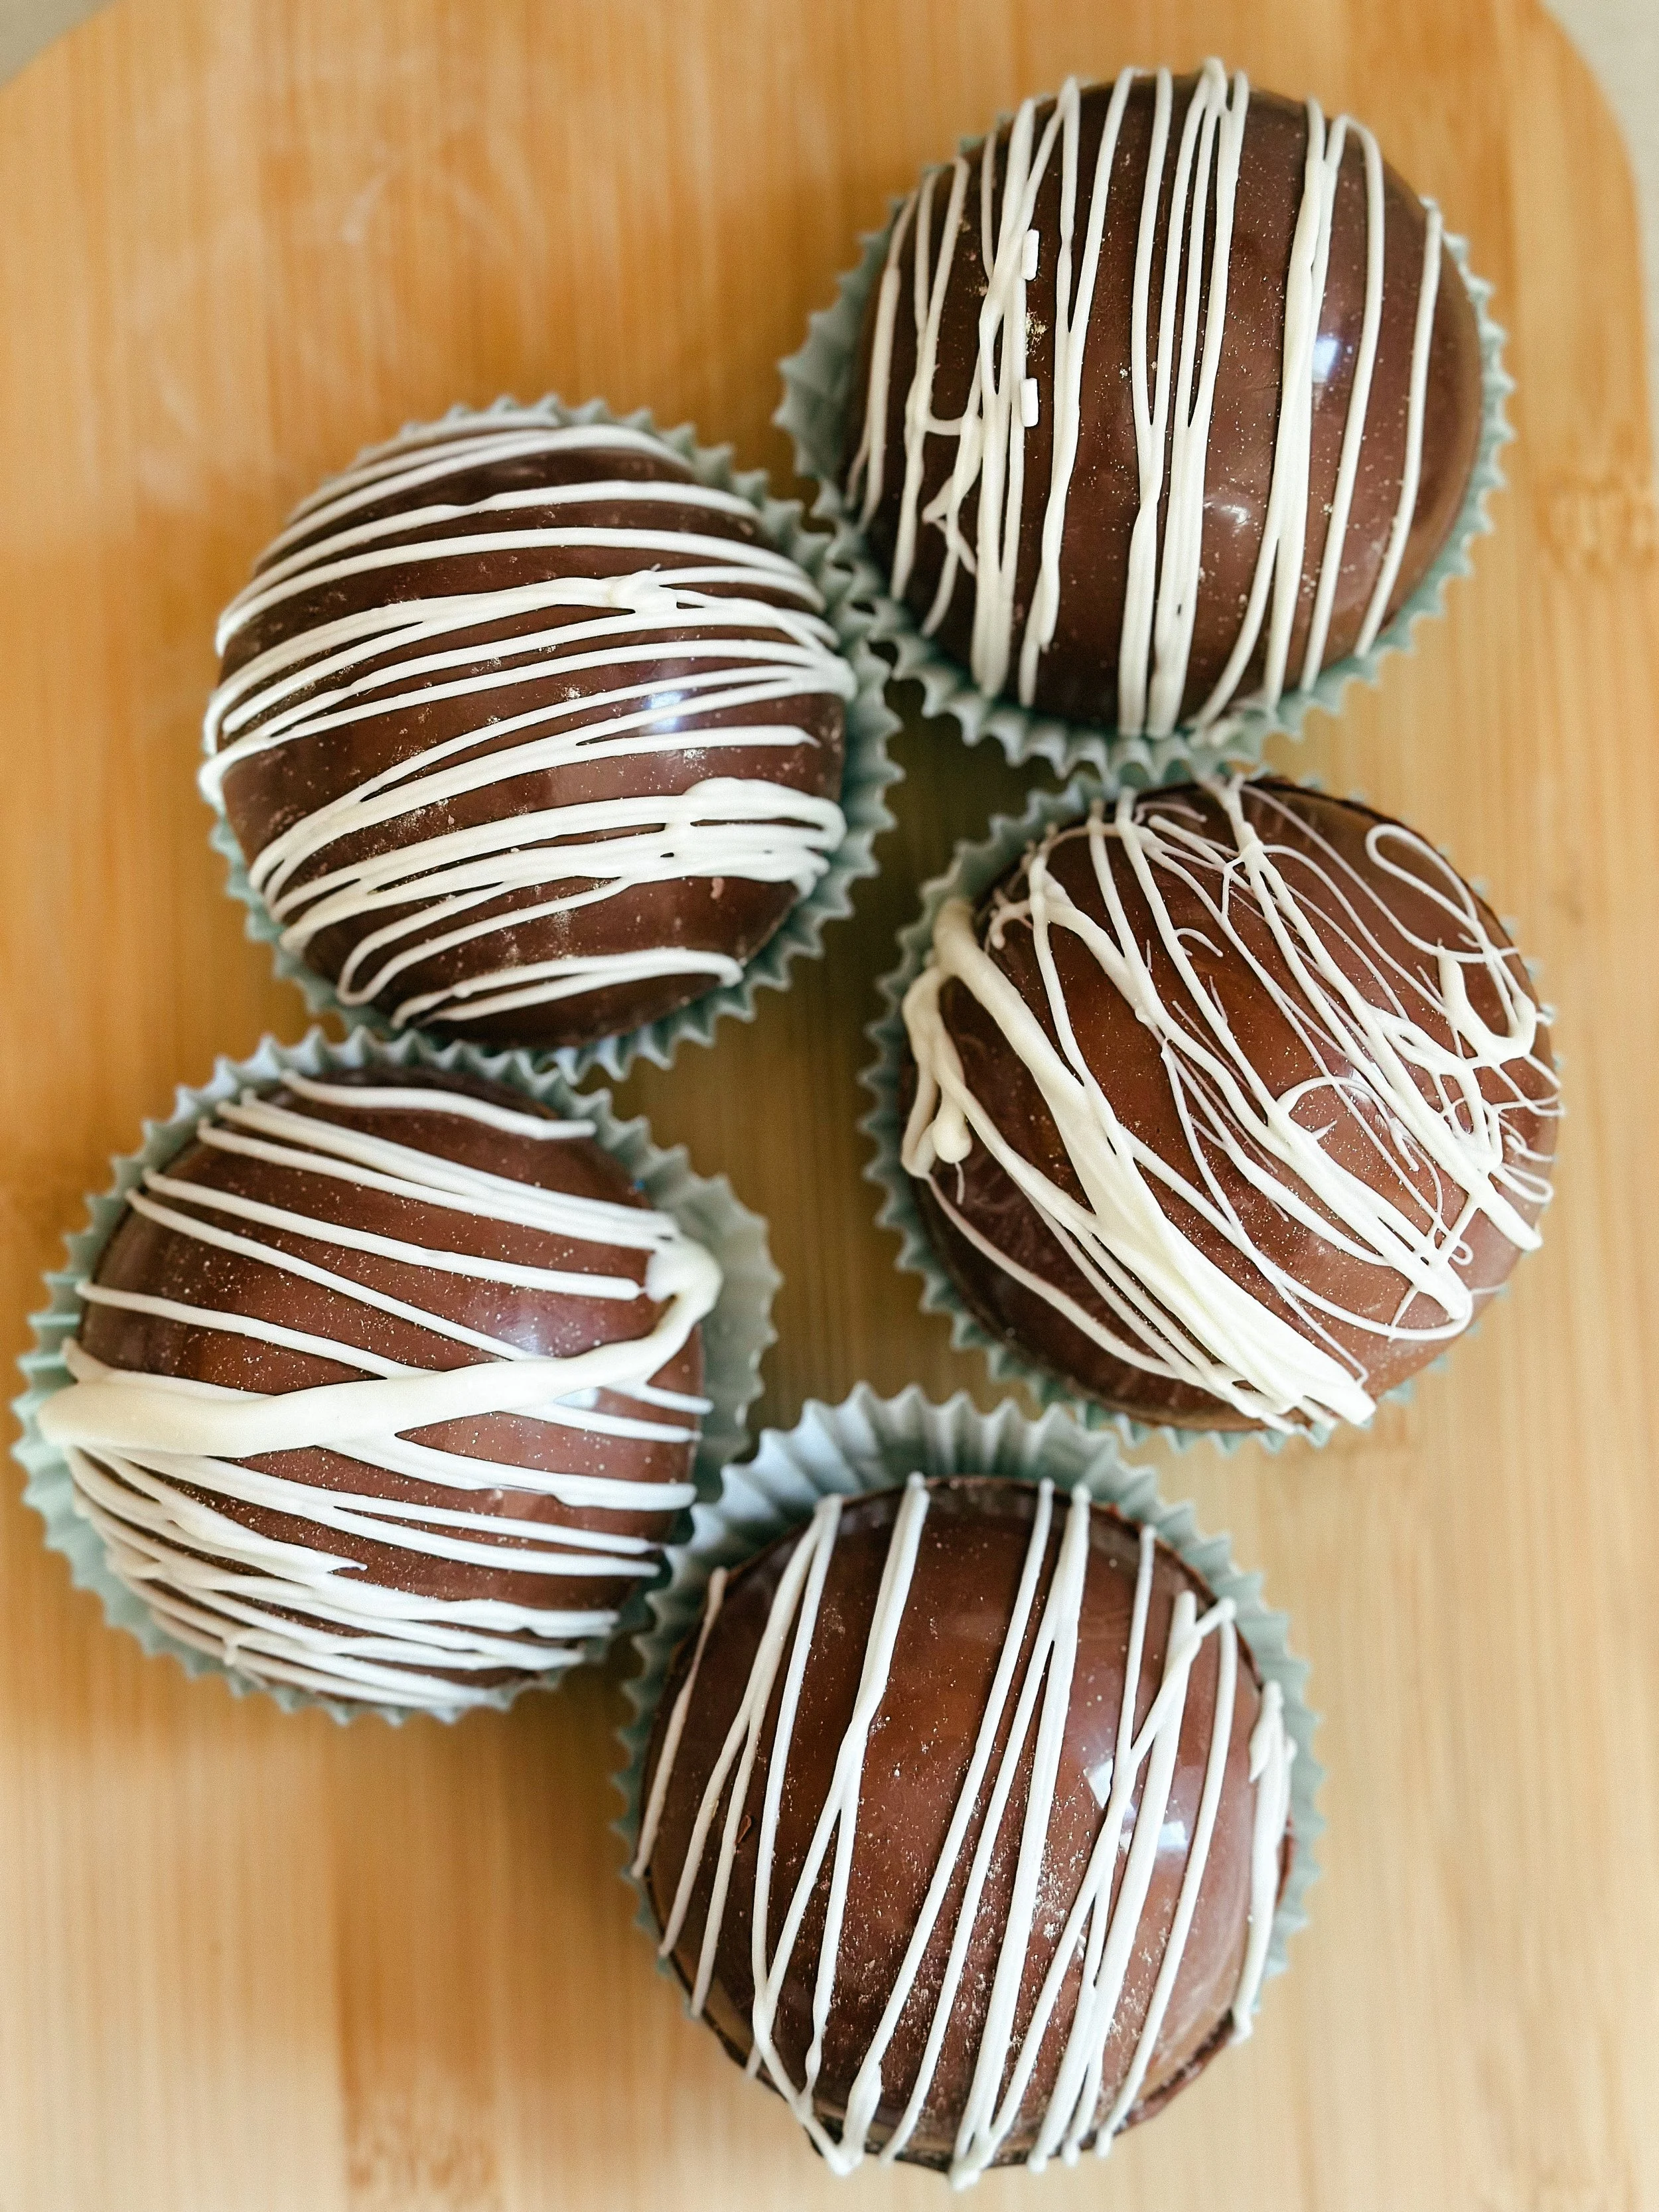
This was much more difficult than I initially thought. Also, if you look close you can see that my white chocolate drizzle bag exploded when I was mid-drizzle.
I'll be honest with you, making hot chocolate bombs looked so easy on social media. You know the videos: perfectly smooth chocolate spheres, filled with marshmallows and cocoa, melting beautifully in a mug. Simple, right?
Wrong.
My first attempt at making hot chocolate bombs was equal parts labor of love, creative problem-solving, and complete frustration. But somehow, that made the final product even sweeter.
The Great Sealing Disaster
Everything started well enough. I melted my chocolate, spooned it into the silicone molds, and carefully coated each hemisphere. The demolding? Flawless. I felt like a professional chocolatier for approximately three minutes.
Then came the part where you're supposed to stick the two halves together.
I tried chocolate "glue" first, you know, where you pipe a little melted chocolate around the edge and press the halves together. My chocolate was either too hot (resulting in fingerprints and chocolate everywhere) or too cool (and the halves just... fell apart). I tried working faster. I tried working slower. I tried different temperatures of chocolate. Nothing was giving me that seamless seal I'd seen online.
By this point, my kitchen looked like Willy Wonka had a meltdown, and I was seriously questioning my life choices.
The Lightbulb Moment
Then, in a moment of desperation-fueled genius, I remembered a basic principle of science: heat melts things.
I grabbed a pan, heated it on the stove for a minute or two, then turned off the heat. Taking one hemisphere, I gently pressed the rim against the warm pan for just a couple of seconds, just long enough to slightly melt the edge. Then I quickly pressed it onto the other half.
And it worked. It actually worked.
The seal wasn't perfect. There were little ridges where the melted edge had smooshed out slightly. But those two halves were STUCK, and that was all that mattered.
Hot Chocolate Bombs Recipe
Yield: 6 hot chocolate bombs
Prep Time: 30 minutes (plus chilling time)
Ingredients:
12 oz Ghirardelli chocolate melting wafers (dark, milk, or white chocolate)
6 tablespoons hot cocoa mix
¾ cup mini marshmallows (or more, to taste)
Optional toppings: crushed peppermint, sprinkles, or caramel bits
Equipment:
Silicone sphere mold (2.5-inch diameter recommended)
Microwave-safe bowl
Spoon or pastry brush
Small flat pan
Milk frother or whisk
Instructions:
Melt the chocolate: Place Ghirardelli wafers in a microwave-safe bowl. Microwave in 30-second intervals, stirring between each, until completely smooth and melted.
Coat the molds: Spoon about 1 tablespoon of melted chocolate into each sphere cavity. Use the back of a spoon or a pastry brush to spread the chocolate evenly up the sides, ensuring no gaps. The coating should be about ⅛-inch thick.
Chill: Place molds in the refrigerator for 10-15 minutes until the chocolate is completely set and firm.
Add a second coat: Remove from refrigerator and add another thin layer of chocolate to reinforce the shells. Chill again for 10-15 minutes.
Unmold carefully: Gently pop out the chocolate hemispheres from the molds.
Fill: Place 6 hemispheres on your work surface. Add 1 tablespoon of cocoa mix and as many mini marshmallows you can fit. Add any optional mix-ins (we put some rainbow sprinkles in).
Seal using the warm pan method: Heat a flat pan on the stove over low heat for 1-2 minutes, then turn off heat. Take one empty hemisphere and gently press the rim against the warm pan for 2-3 seconds until the edge just begins to melt. Quickly place it on top of a filled hemisphere and press gently to seal. Repeat with remaining bombs.
Decorate (optional): Drizzle with additional melted chocolate or add sprinkles while the seal is still slightly warm.
Store: Keep in an airtight container at room temperature for up to 2 weeks.
To Use:
Place one hot chocolate bomb in a mug and pour 8-10 oz of hot milk over it. Stir and watch the magic happen!
Pro Tips:
Work in a cool kitchen—warm temperatures make the chocolate difficult to handle
If hemispheres crack when demolding, your chocolate layer may be too thin
Don't overheat the pan—you only need to slightly melt the rim, not create a puddle
The warm pan method is key to getting a solid seal!
Embracing the Imperfection
Here's what I learned: homemade hot chocolate bombs aren't supposed to look like they came from a factory. The slight unevenness, the little chocolate drips, the not-quite-perfect sphere shape—that's the proof that human hands made them. That's the proof that someone cared enough to spend an entire afternoon covered in chocolate, troubleshooting and problem-solving.
When I finally dropped one of my imperfect little chocolate bombs into a mug and poured the hot milk and watched it melt open, releasing a swirl of cocoa and mini marshmallows, I felt ridiculously proud.
Would I do it again? Absolutely. Armed with my warm-pan technique, I'm already planning my next batch. Maybe they'll be a little prettier this time. Or maybe they'll be just as wonderfully imperfect.
Either way, they'll be made with love and a healthy dose of chocolate-covered determination.