
Making Chocolate Covered Fruit with My Little Ones
This post contains affiliate links. If you click and choose to purchase, I will earn a small commission at no extra cost to you.
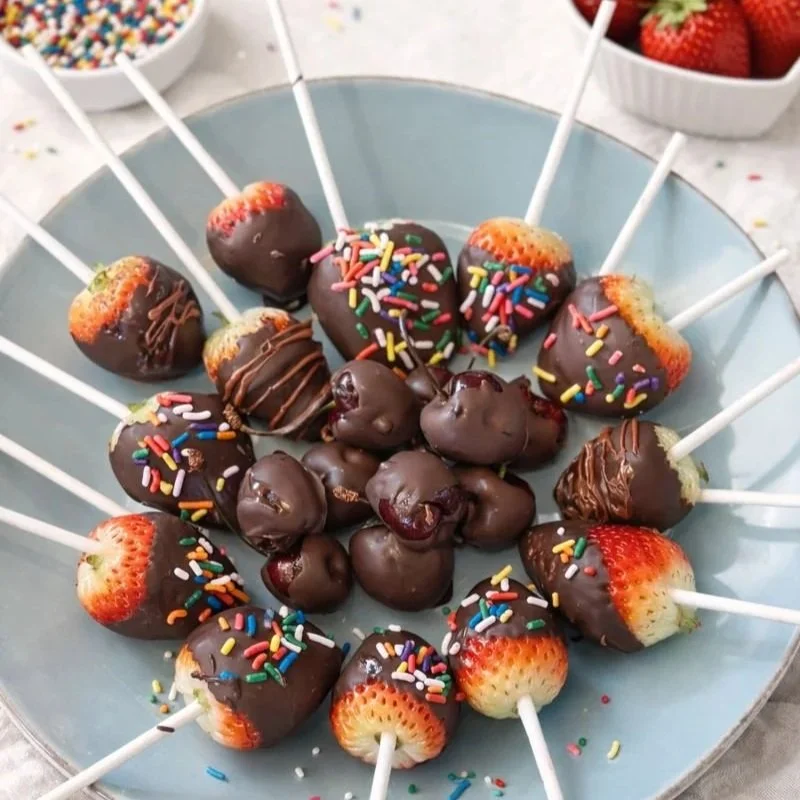
There's something magical about watching little hands create their own treats, even if chocolate ends up in places you didn't know chocolate could reach. Today we tackled chocolate covered cherries and strawberries with my toddler and preschooler, and despite the chaos (or maybe because of it), we had the best time.
What We Made
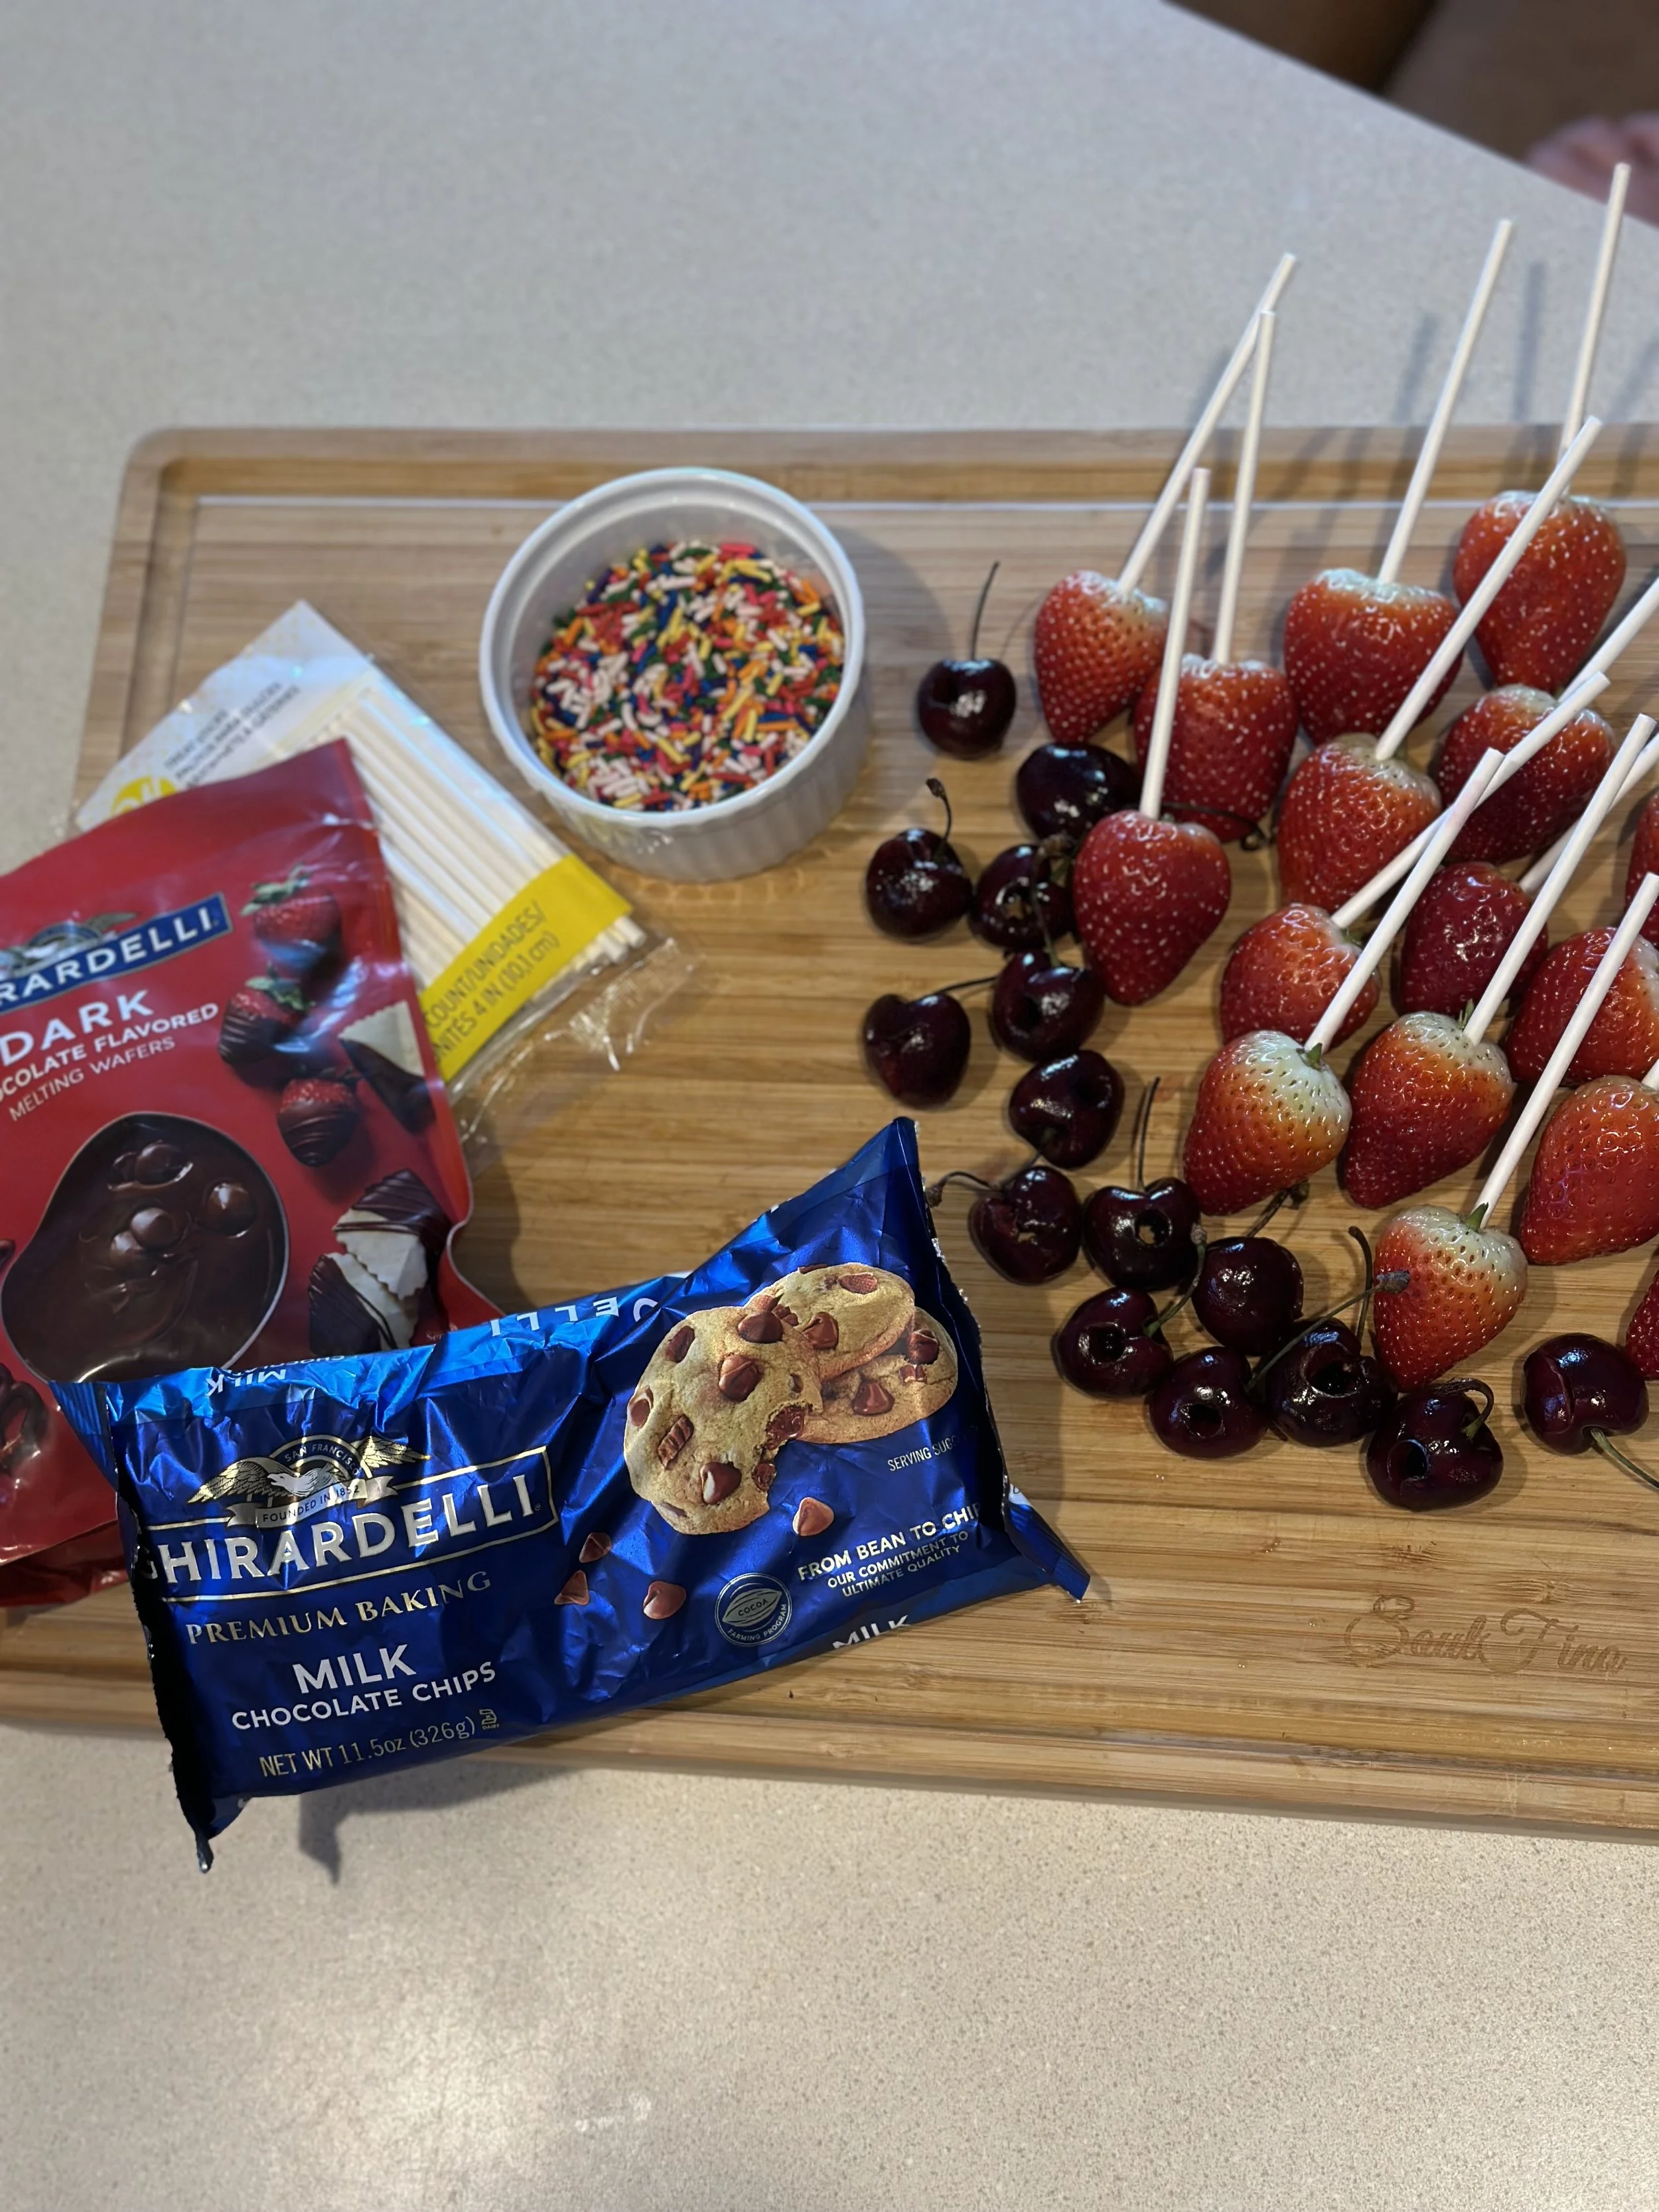
We stuck with fresh strawberries and cherries, but frozen bananas would be perfect for this too! Just slice them into rounds and keep them frozen until you're ready to dip. They're actually easier for little hands to manage since they're sturdier than soft fruit.
The Kids' Jobs
One of my favorite parts of baking with kids is finding tasks that feel important to them. Here's what mine handled:
My preschooler:
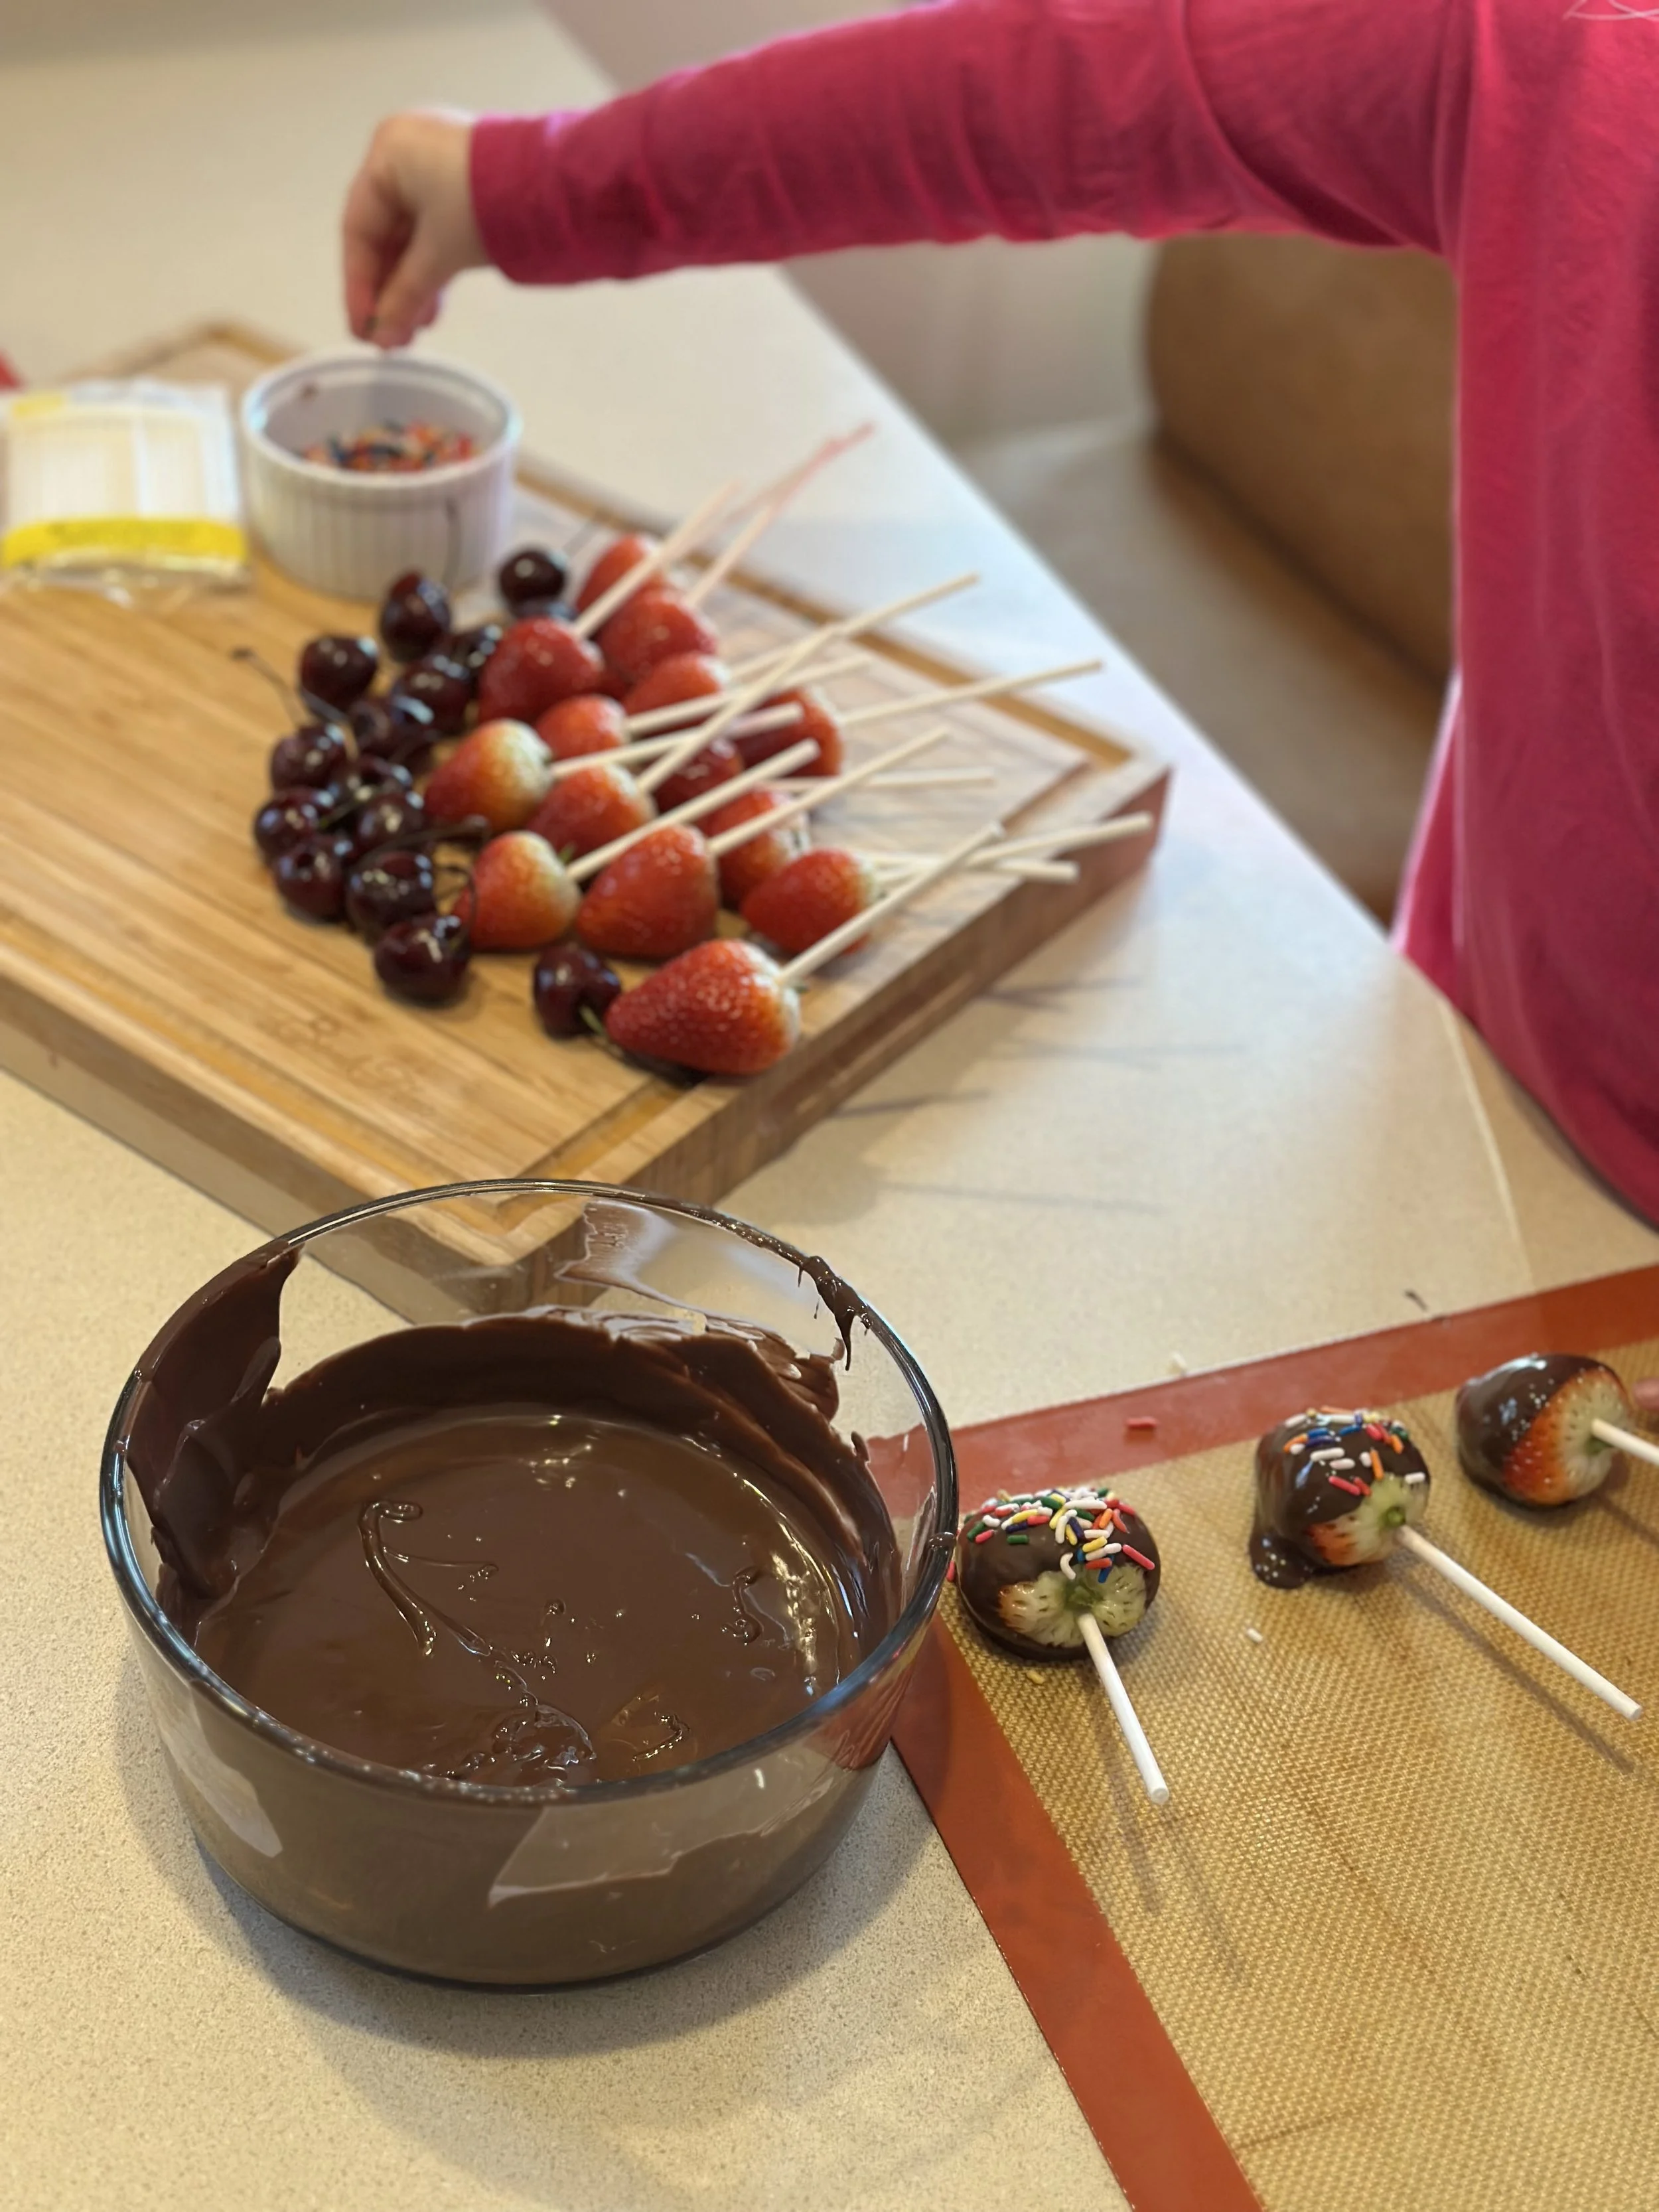
Helping me melt the chocolate by stirring gently 🍫
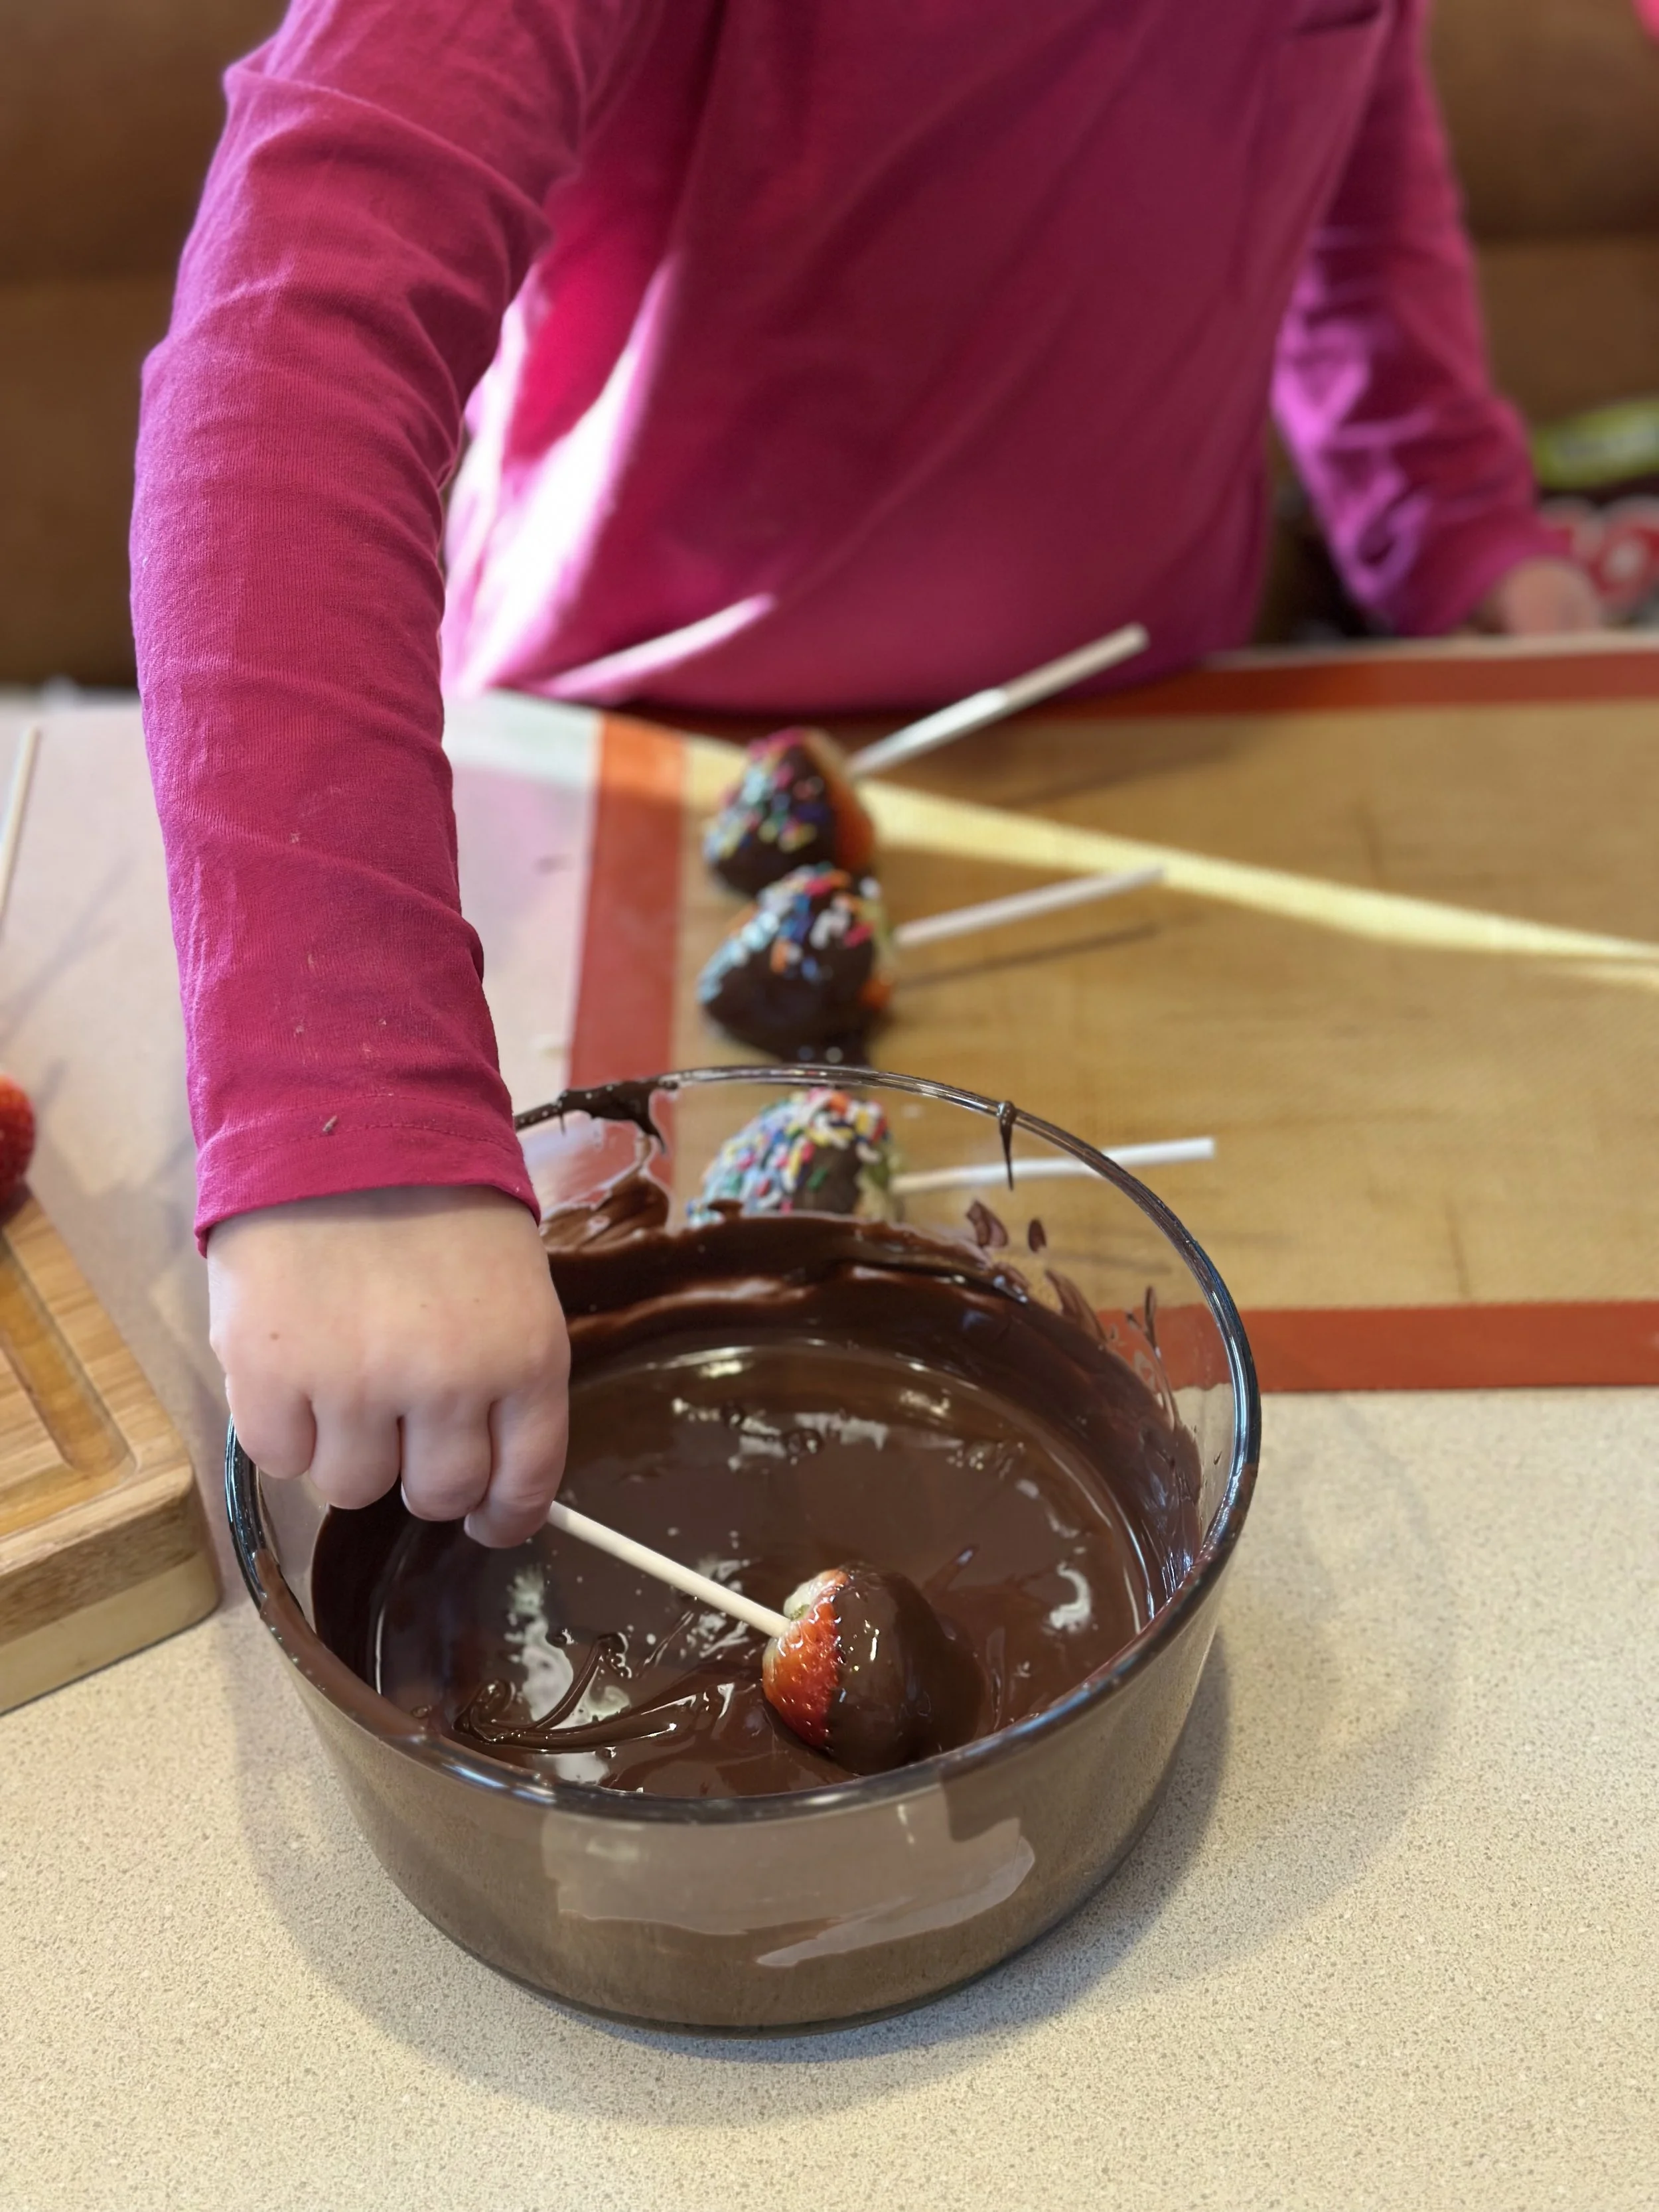
Dipping the fruit into the chocolate - these cake pop sticks worked perfectly for dipping! And also make them look like lollipops🍭
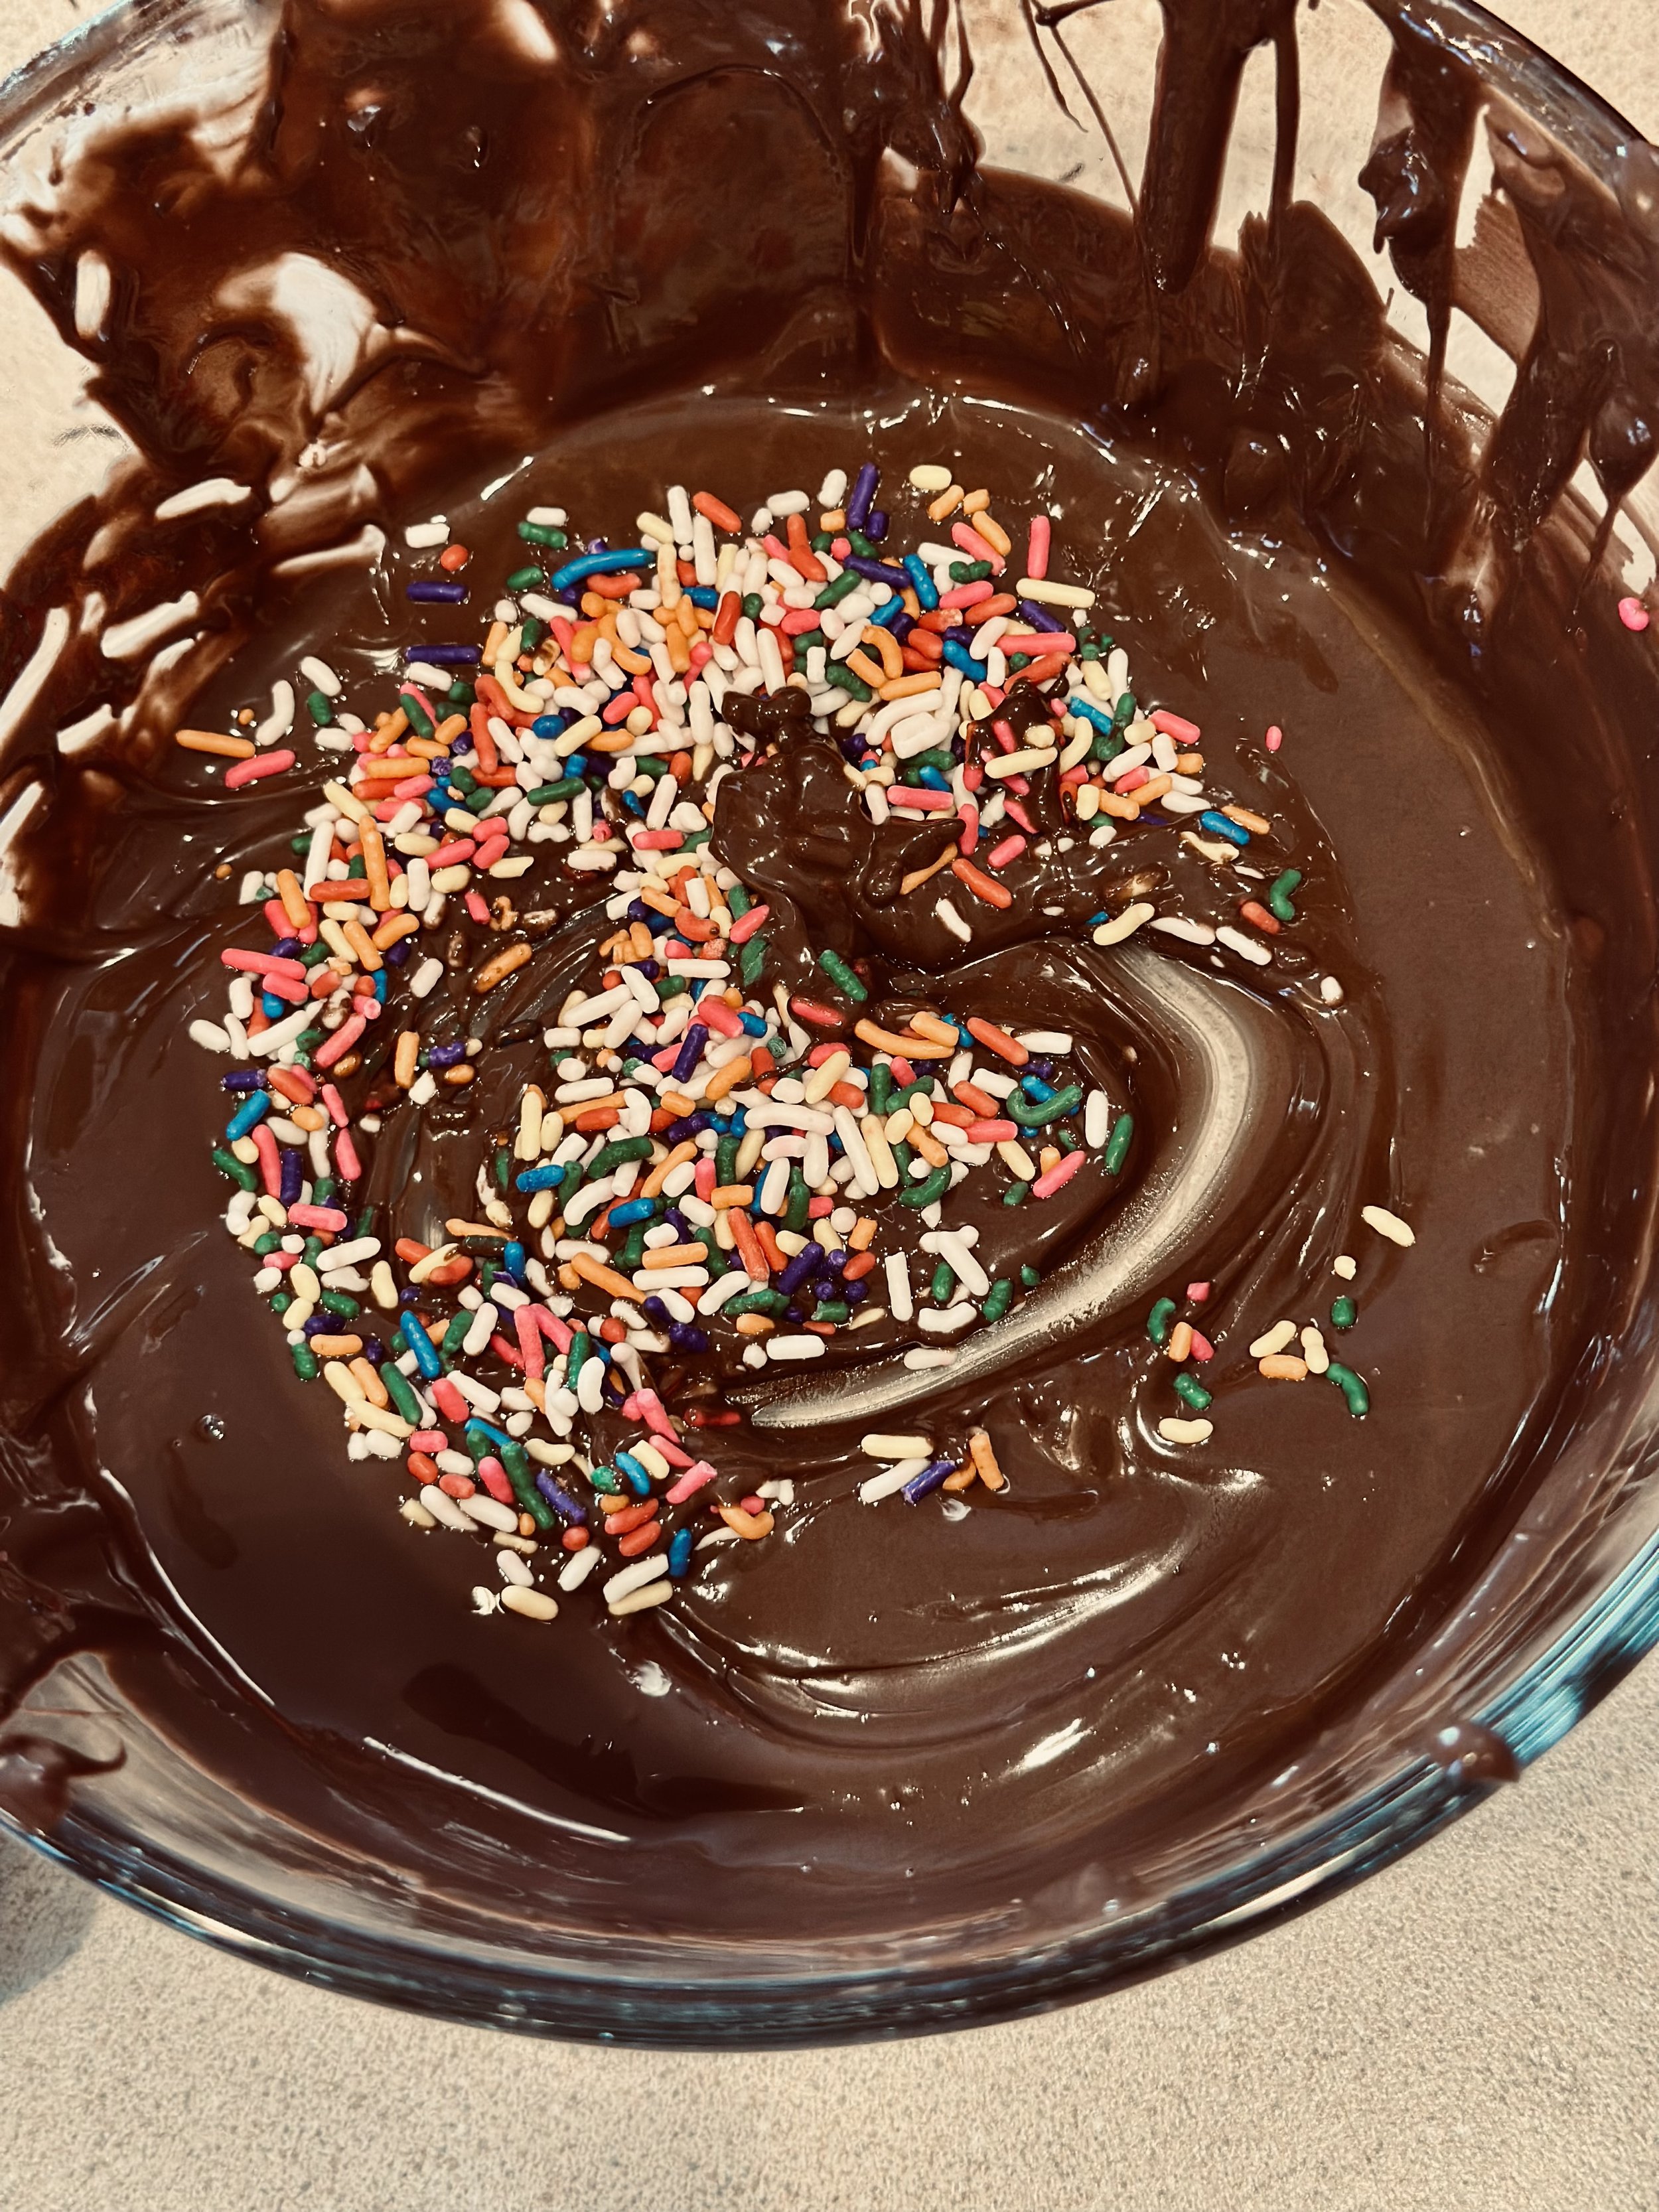
Choosing which toppings to sprinkle on each piece
My toddler:
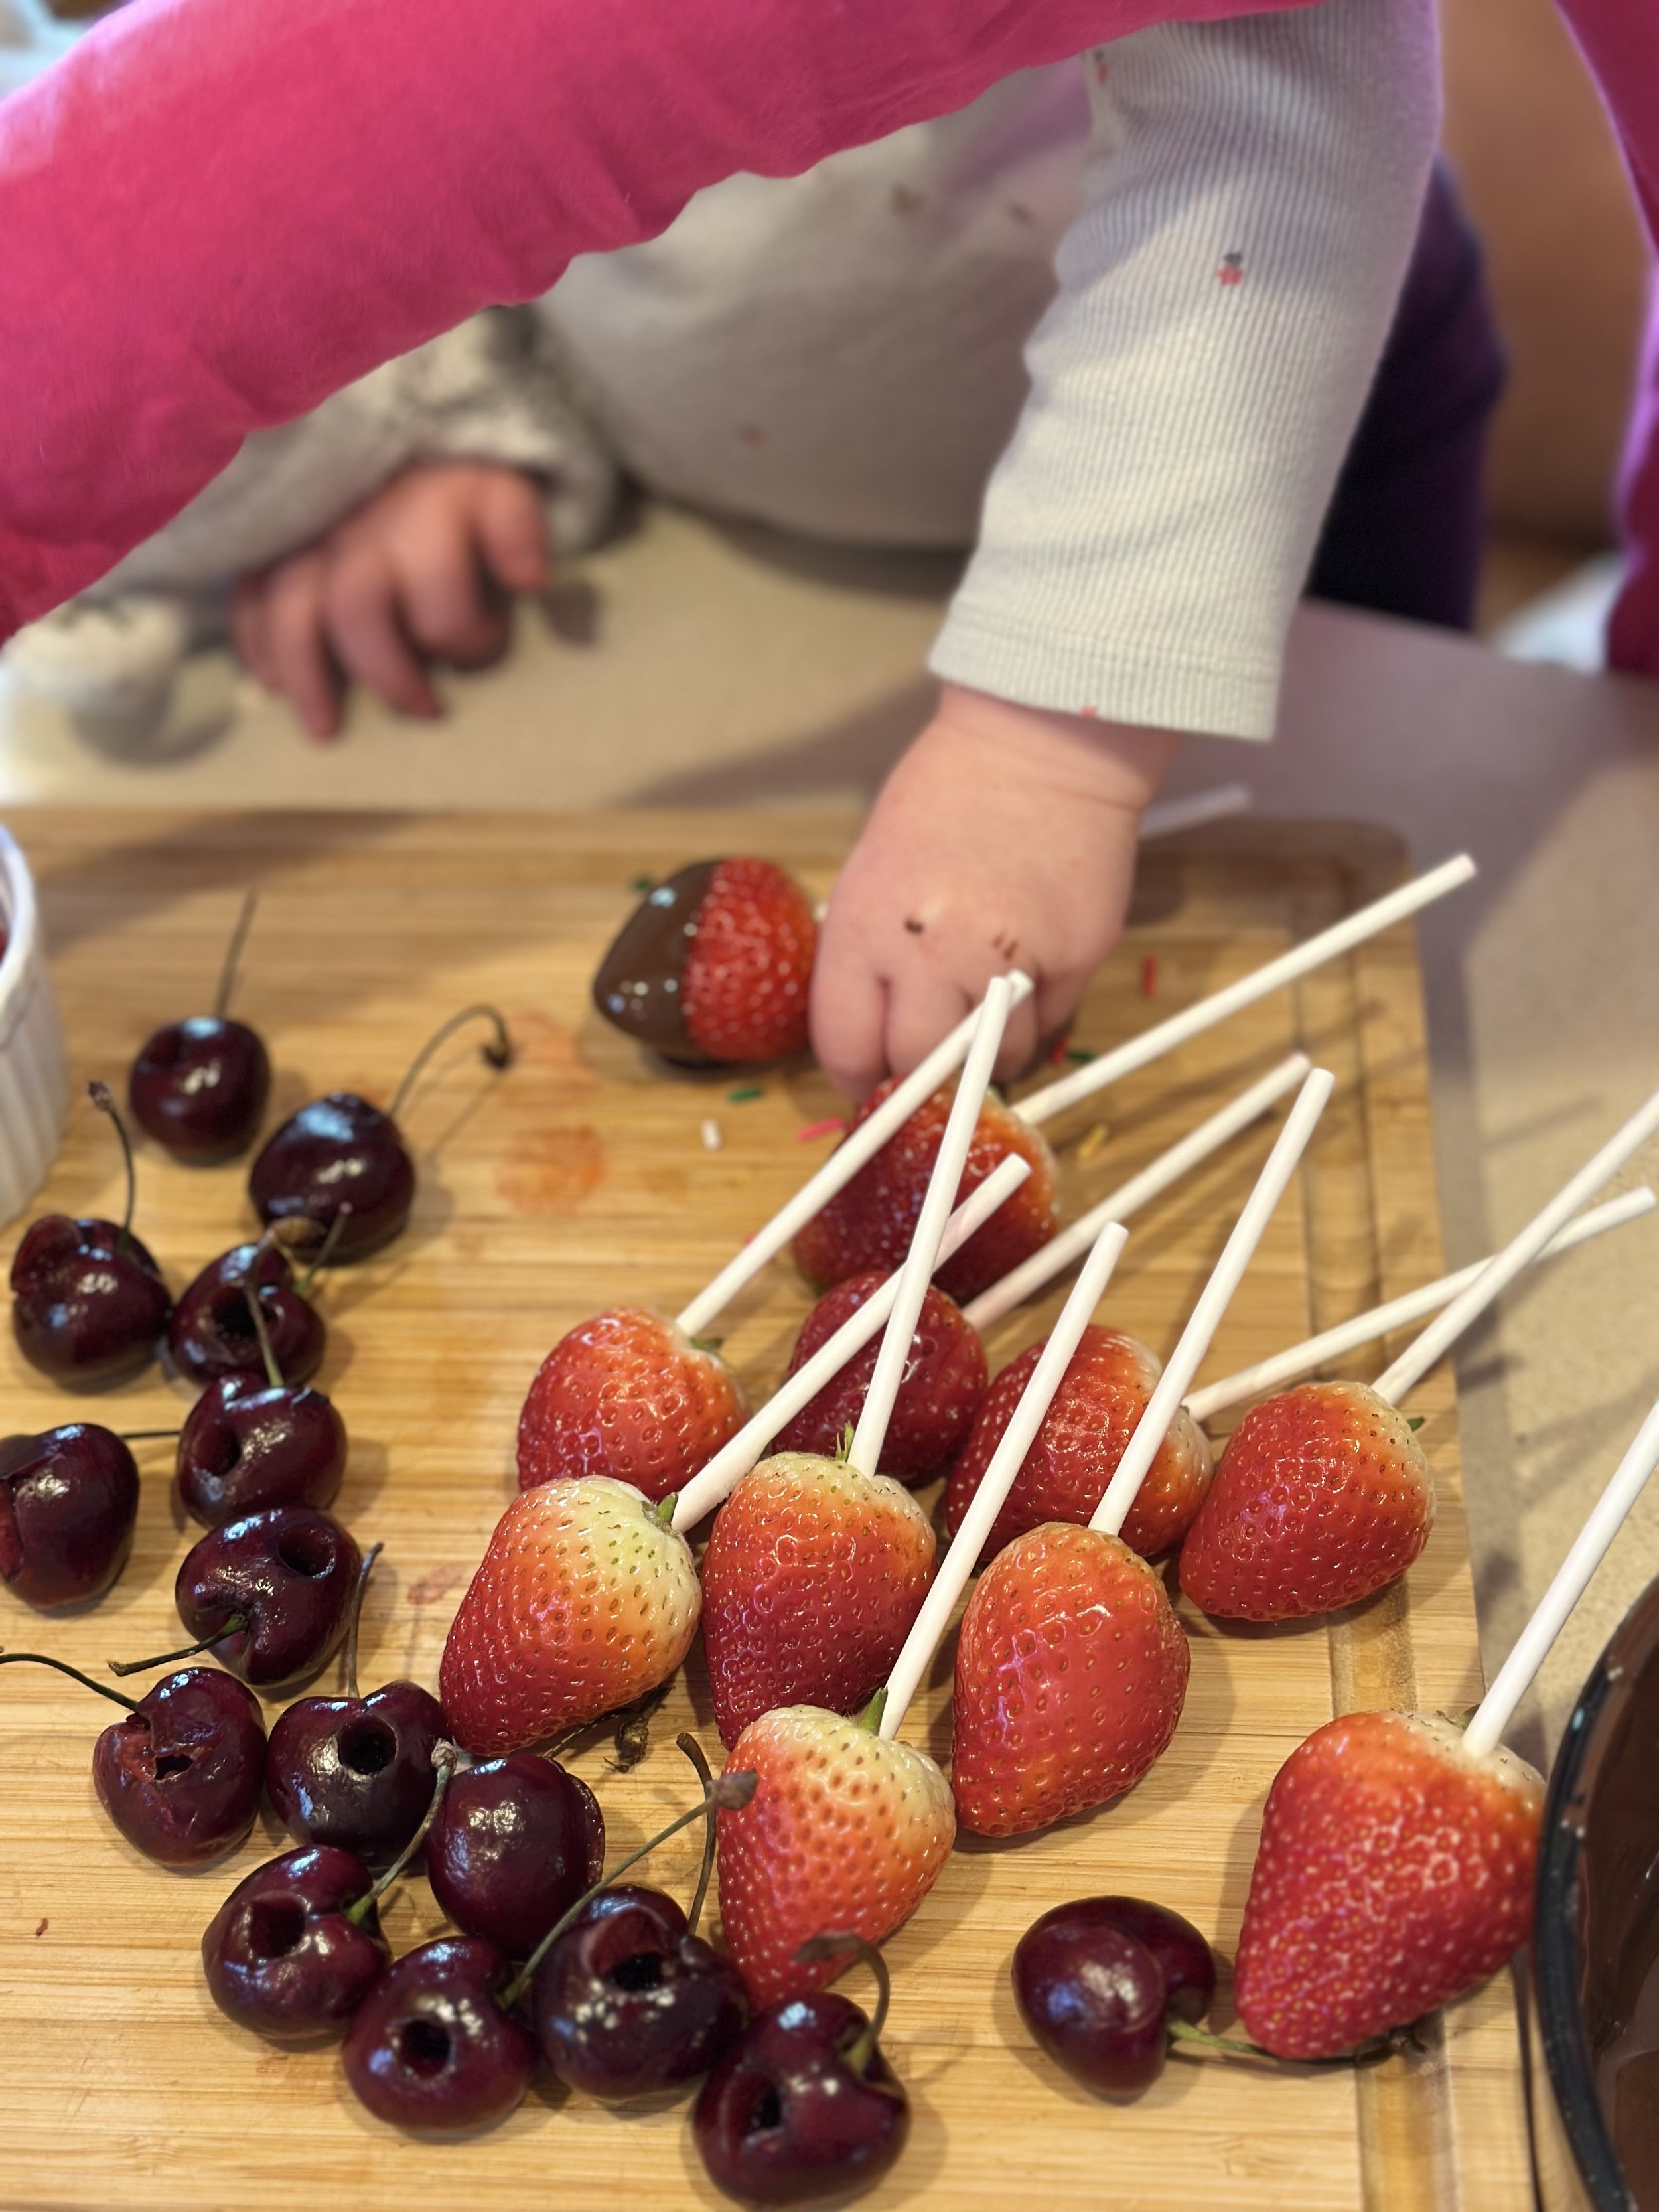
Placing the fruit on the baking sheet
Adding sprinkles (generously... very generously)
"Quality control" taste testing, especially with her spoon in the melted chocolate 🥄
Both of them loved arranging the finished fruit on our serving plate, even if the arrangement was more abstract art than Instagram-worthy.
A Few Tips That Helped
The key to keeping this relatively manageable was prep work. I washed all the fruit beforehand and then made sure it was COMPLETELY dry, seriously, even a little moisture will make the chocolate seize up and turn grainy. I actually dried each piece with paper towels and then let them sit out for a few extra minutes to be sure. I also potted the cherries by just poking a straw through the middle and pushing the pit out. A cherry pitter would have worked better but I didn’t have one in the moment 🤷🏼♀️
I set up a baking sheet and a baking mat and put all our toppings in small bowls within reach. We used Ghirardelli chocolate melting wafers, which are a game-changer for projects like this. Just pop them in the microwave in 30-second intervals, stirring between each one, and they melt perfectly smooth. I melted them in a shallow bowl rather than a deep one, which made dipping much easier for small hands.
The chocolate doesn't need to be piping hot for dipping, so letting it cool just slightly made everyone more comfortable handling it.
The Reality Check
Here's what I wish someone had told me: this activity generates chocolate fingerprints on every surface. Chairs, face, walls, occasionally a sibling's hair. Set up near the sink, have wet washcloths at the ready, and maybe accept that everyone's changing clothes after or get some cute aprons to contain (some) of the mess.
But watching my kids' faces light up when they created something beautiful (to them) and delicious? Worth every wipe-down.

The Best Part
Later that afternoon, my preschooler proudly served "her" chocolate strawberries to their dad, explaining in great detail how she made each one. My toddler mostly wanted to talk about the sprinkles. Both of them glowed with pride.
That's the magic of cooking with kids. It's not about perfection or pristine kitchens. It's about the process, the pride, and yes, the chocolate-covered memories we're making together.
This post contains affiliate links.